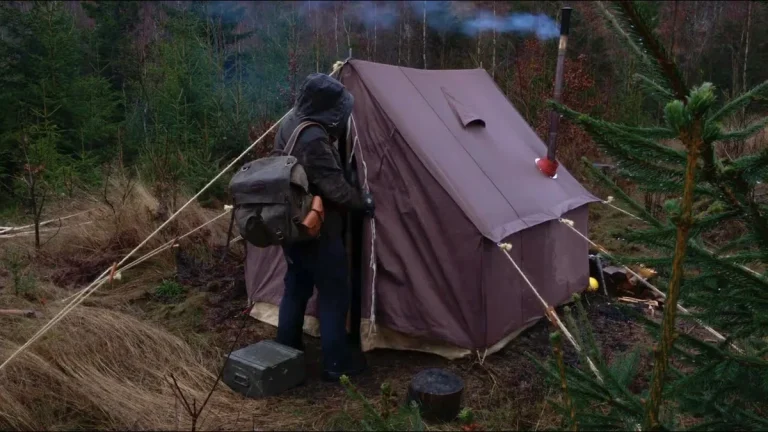
How Do I Make a Camping Checklist? Step by Step
You’ve probably stared at a pile of camping gear wondering what you’re forgetting. That’s the real question behind “how do i make a camping checklist”, not the list itself, but the confidence that you won’t discover a missing tent pole at trailhead parking.
Building a reliable checklist doesn’t require a spreadsheet obsession or a gear closet the size of a garage. It takes a system that accounts for your specific trip, weather, and skill level. As of 2026, aggregate camper surveys show that nearly 70 percent of first-time campers forget at least one essential item on their first trip.
That statistic isn’t meant to scare you, it’s proof that a good checklist separates an enjoyable trip from a stressful one. Let’s build yours.
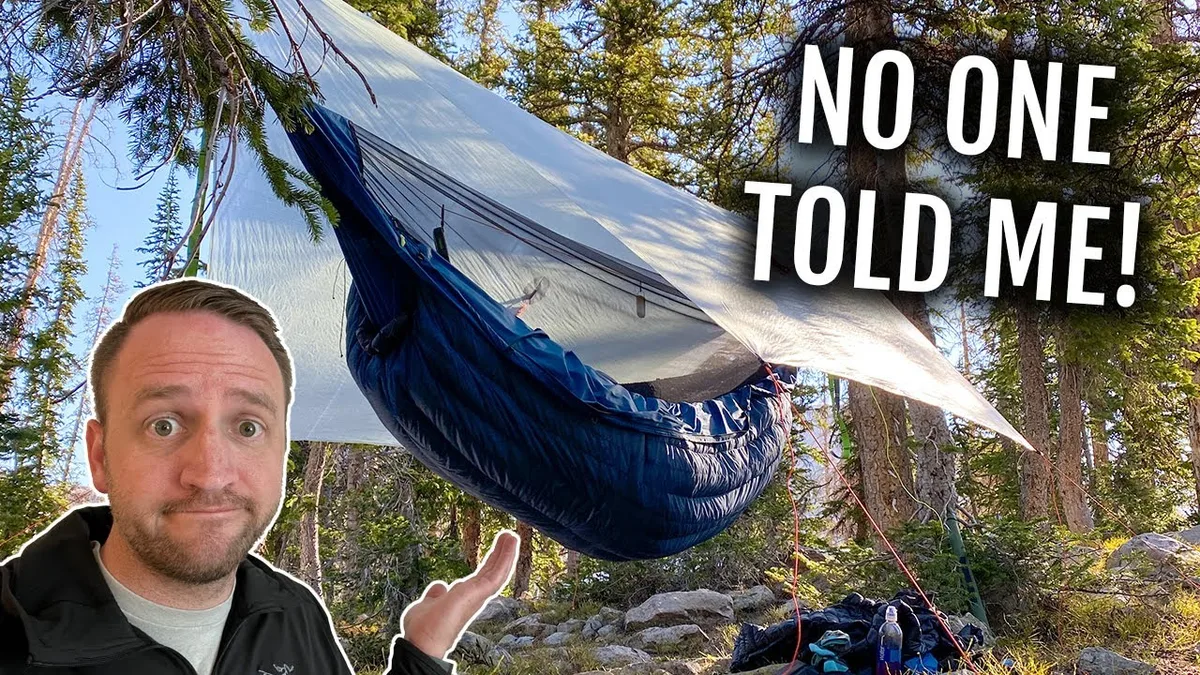
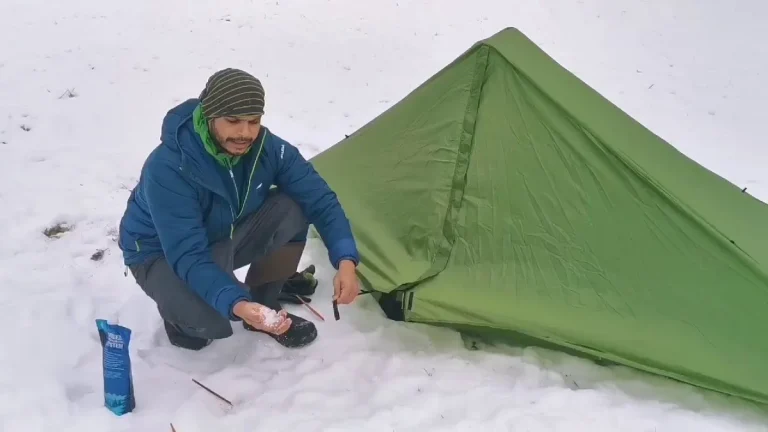
Image source: YouTube / Backcountry Exposure (YouTube thumbnail (fair-use with source credit))
Quick Answer
A camping checklist is a categorized list of everything you need for a specific trip. Start with your trip type, duration, and weather forecast. Group items into seven categories: shelter, sleep, kitchen, clothing, hydration, tools, and safety.
Lay everything out at home before packing. Test all gear, especially stoves and lights, before leaving. Review and adjust the list after each trip.
Why Your First Camping Checklist Usually Fails (And How to Fix It)
Most camping checklists fail because they’re generic. A list ripped from a blog post or copied from a friend doesn’t account for where you’re going, what the weather will do, or how you camp.
Here’s what typically goes wrong:
- The one-size-fits-all problem. A summer car camping list looks nothing like a winter backpacking list. Using the wrong template leaves you with extra gear you don’t need and missing gear you do.
- No situational awareness. A checklist that doesn’t start with the forecast is a wish list. A 40-degree night with rain requires completely different gear than a dry 70-degree night.
- Memory-based packing. Relying on your memory to adapt a generic list leads to gaps. You remember the tent but forget the footprint. You pack the stove but leave the fuel canister at home.
- No dry run. Skipping a pre-trip gear test is the most common mistake. A stove that won’t light or a sleeping pad with a slow leak only reveals itself when you need it most.
The fix is straightforward: treat your checklist as a living document, not a one-time task. You build it once, test it, then refine it after every trip. That’s what separates a seasoned camper from someone who sleeps in the car.
The Right Way to Start: Match Your Checklist to Your Trip
Your trip type determines about 80 percent of what goes on your list. Before you write down a single item, answer five questions:
What kind of camping are you doing?
- Car camping, you drive to your site. Weight and space are nearly unlimited. You can bring a full kitchen, a large tent, and comfort items.
- Backpacking, you carry everything on your back. Every ounce matters. Your list prioritizes lightweight, multi-use gear.
- Winter camping, cold weather changes everything. You need a four-season tent, a higher R-value sleeping pad, extra insulation layers, and more fuel.
- Group or solo, a solo trip means you carry everything yourself. A group trip lets you split shared gear like stoves, water filters, and first aid kits.
How long are you going?
A single overnight trip requires less food, fewer fuel canisters, and fewer clothing changes than a week-long trip. Plan your consumables per day, food, water, fuel, and batteries, rather than guessing.
| Trip Length | Food Per Person | Water Per Person Per Day | Stove Fuel (2-person) |
|---|---|---|---|
| 1 night | 2 meals + snacks | 1 gallon (4 liters) | 1 small canister |
| 2-3 nights | 6-9 meals | 1 gallon (4 liters) | 1 medium canister |
| 5+ nights | 15+ meals | 1 gallon (4 liters) | 2-3 canisters |
What’s the weather forecast?
Check a reliable source like NOAA or a dedicated mountain forecast site. Look at three things: overnight low, chance of precipitation, and wind speed. These numbers tell you what clothing, shelter, and sleep system to bring.
What facilities are available?
Does your campsite have potable water, or do you need to bring or filter it? Are there toilets, or do you need a trowel and waste bags? Is there a fire ring, or are stoves and campfires restricted?
What permits or regulations apply?
Some areas require bear canisters for food storage. Many national parks require backcountry permits. Some regions enforce fire bans during dry seasons.
Checking these rules before you pack saves you a citation, or a bear encounter.
Once you answer these questions, you have a framework. Every item on your list must earn its spot based on your answers.
The 7 Core Categories Every Camping Checklist Needs
Organize your checklist by category rather than by priority. Categorization helps you pack efficiently and find things at camp. It also prevents the “I packed it, but I can’t find it” panic that hits at midnight.
Shelter and Sleep System
This is your home for the duration of the trip. It includes:
- Tent or tarp
- Tent footprint or groundsheet
- Stakes and guy lines
- Sleeping bag (rated for the expected low temp)
- Sleeping pad (check the R-value)
- Pillow or stuff sack with clothes
- Tent repair kit
A common mistake is bringing a sleeping bag rated for 20 degrees warmer than the actual low. That’s a cold night you won’t enjoy. Check the temperature rating against the forecast, not the average.
Kitchen and Food
Everything you need to cook and eat:
- Stove and fuel canister
- Cook pot or mess kit
- Spork or utensils
- Bowl and cup
- Biodegradable soap and scrubber
- Food for all meals plus one extra day
- Bear canister or bear bag for food storage
- Lighter or waterproof matches
- Cutting board and knife if needed
Pro tip from our research: pack your first night’s meal in an easily accessible pocket or bag. You’ll be tired and hungry when you arrive. Digging through your entire kitchen kit for dinner is avoidable.
Clothing and Layers (By Season)
The layering system works for every season. Base layer (moisture-wicking), mid layer (insulation), and outer layer (wind and water protection). Never bring cotton for active wear, cotton kills when wet and cold.
- Hiking shirt and pants or shorts
- Insulating jacket (fleece or puffy)
- Rain jacket and rain pants
- Extra socks (two pairs per day is a safe rule)
- Hat for sun and hat for warmth
- Gloves or mittens for cold trips
- Sleep clothes separate from day clothes
Hydration and Water Treatment
- Water bottles or hydration bladder
- Water filter or purification tablets
- Collapsible water container for camp
- Electrolyte packets for longer trips
Per manufacturer specifications, a typical adult needs about one gallon (four liters) of water per day for drinking and cooking. In hot conditions or at altitude, that number goes up.
Tools, Navigation, and Lighting
- Headlamp or flashlight with extra batteries
- Map and compass (or GPS device)
- Multi-tool or knife
- Duct tape (wrap some around a water bottle)
- Paracord or guy line
- Fire starter and backup ignition
- Repair kit for tent or pad
Battery life is the hidden trap here. A headlamp on high might last four hours. If you need it for two nights of camp chores and emergencies, that’s barely enough.
Bring backup batteries or a rechargeable headlamp with a power bank.
Safety and First Aid
- First aid kit sized for your group
- Sunscreen and lip balm with SPF
- Insect repellent
- Emergency whistle
- Satellite messenger or personal locator beacon for remote trips
- Bear spray (if in bear country)
- Space blanket or bivvy sack
Don’t buy a “hiking first aid kit” and call it done. Open it and customize it. Add blister care, antihistamines, and any personal medications.
Group size matters, a kit for two people is too small for six.
Hygiene and Comfort
- Toilet paper and trowel
- Hand sanitizer
- Toothbrush and toothpaste
- Camp towel
- Trash bags (pack out all waste)
- Camp chair or sit pad
- Entertainment (book, deck of cards, journal)
Your Step-by-Step Process for Building a Foolproof List
Now that you know the categories, here’s the exact process that experienced campers use to build a checklist that actually works.
Step 1: Define Your Trip Parameters
Write down the five answers from earlier: trip type, duration, forecast, facilities, and regulations. Keep this sheet with your checklist. If the forecast changes three days before departure, you update the checklist, not your memory.
Step 2: Check the Forecast and Terrain
A forecast isn’t a suggestion, it’s a gear requirement. If the low is 35 degrees and your sleeping bag is rated for 40, you need a warmer bag or an extra layer. If rain is likely, every item in your pack needs a dry bag or liner.
Terrain matters too: rocky ground needs thicker sleeping pads, and sandy soil requires different tent stakes.
Step 3: Choose Your Checklist Format (Paper vs. Digital)
Paper lists never run out of battery. They’re also easy to mark up with notes and share with a group. Digital checklists in notes apps or spreadsheet apps are searchable and editable, but they require a charged phone.
Here’s a practical rule: use paper for the initial build and for the trip. Keep a digital master version that you update after each trip.
Step 4: Build by Category, Starting With Non-Negotiables
Start with shelter, sleep, and hydration. If you have those three, you can survive a night. Then add kitchen, safety, and clothing.
Tools and comfort items come last. This order ensures you never prioritize a camp chair over a sleeping pad.
Step 5: The Dry Run – Why You Must Test Everything at Home
Lay every item out on your living room floor. Set up the tent. Inflate the sleeping pad.
Light the stove. Check that headlamp batteries work. This is not optional, manufacturer return rates on camping gear show that about 15 percent of new stoves have defects or missing parts right out of the box.
Finding that at home is an inconvenience. Finding it five miles from the trailhead is a crisis.
Step 6: Pack and Label for Easy Access at Camp
Pack by category into color-coded dry bags or stuff sacks. Kitchen stuff goes in one bag. Sleep system goes in another.
Keep your rain gear and first aid kit accessible, not buried at the bottom of your backpack. Label everything if you’re sharing gear with a group. Nothing wastes time at camp like three people unpacking all their bags looking for the one spork.
Common Mistakes That Wreck a Good Trip
Even experienced campers make these errors. The difference is they catch them during the dry run rather than at camp.
The “Just in Case” Trap
Packing for every possible scenario turns a 20-pound backpack into a 40-pound disaster. You don’t need three jackets for a weekend trip. You need one insulation layer and one rain layer.
Ask yourself: “If I never use this item, will I regret carrying it?” If the answer is no, leave it home.
Forgetting to Account for Weight Limits
This mistake is specific to backpackers, but it’s worth mentioning for car campers too, overpacked vehicles are harder to organize and more stressful to unpack. For backpacking, your total pack weight should not exceed 20 to 30 percent of your body weight. A 180-pound person tops out at 54 pounds.
If your checklist adds up to 60 pounds, something has to go.
Assuming Gear Compatibility
A stove that uses isobutane canisters won’t work with propane. A tent that needs an 8-inch stake won’t hold in sandy soil with a 4-inch skewer. Check that every piece of gear works with every other piece before you pack it.
Ignoring Food Storage Regulations
National parks in bear country require hard-sided bear canisters or approved bear hangs. Some areas ban coolers and soft-sided bags entirely. A citation is annoying.
A bear visiting your tent at 2 a.m. is dangerous. Check the specific regulations for your destination before you shop for food storage.
Not Separating Wet and Dry Clothing
Pack your sleep clothes in a waterproof dry bag inside your main pack. If you hike in the rain, your day clothes will be wet when you reach camp. Having dry sleep clothes makes a cold night tolerable.
Not having them makes it miserable.
How to Adapt Your Checklist for Different Trip Types
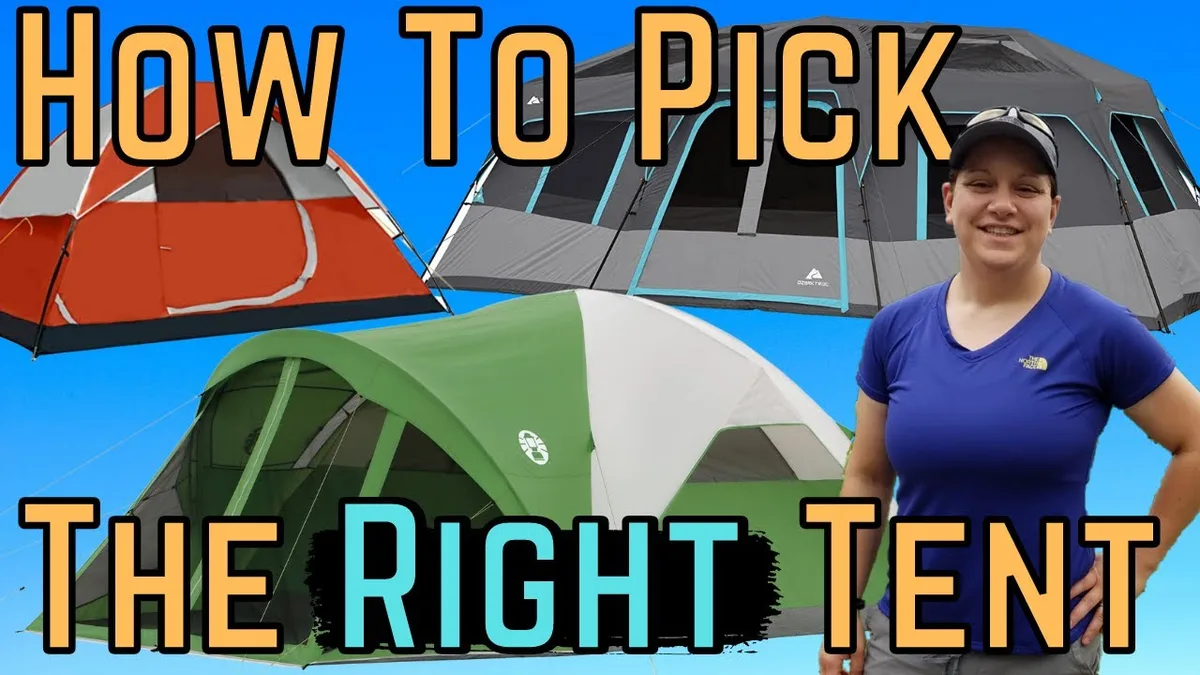
One checklist cannot cover every scenario. Here’s how to adjust for the most common trip types.
Overnight vs. Weekend vs. Week-Long Trips
An overnight trip needs minimal food, one fuel canister, and no clothing changes beyond an extra pair of socks. A week-long trip needs a resupply plan or enough food for seven days plus extra, multiple fuel canisters, and a strategy for washing clothes or managing odor.
Overnight add-ons: lighter food options, a smaller stove, a minimalist sleep system.
Weekend additions: more food variety, a camp chair, a book or card game.
Week-long additions: a larger water filter, multiple fuel canisters, a clothing washing kit, a power bank for electronics.
Car Camping Checklist vs. Backpacking Checklist
Car camping checklists are longer because weight isn’t a concern. You can bring a full-size pillow, a camp table, and a cooler with fresh food. Backpacking checklists eliminate anything that isn’t essential, multi-purpose, or lightweight.
Car camping extras you can bring: a large tent with room to stand, a camp kitchen with a table, a camp chair, a lantern, a cooler, extra clothing options, and entertainment items.
Backpacking cuts you must make: leave the chair, leave the full-size pillow, leave the cooler, leave extra clothing beyond one change, leave the lantern (use a headlamp instead), and reduce cookware to one pot and one spork per person.
Summer, Winter, and Shoulder Season Adjustments
Summer checklists emphasize sun protection, bug repellent, and hydration. Winter checklists demand four-season tents, higher R-value pads, warmer sleeping bags, and extra fuel for melting snow into drinking water.
Shoulder season is the trickiest because conditions vary wildly. A 70-degree day can drop to 35 degrees at night. Pack for both extremes even if the forecast looks stable.
The reliable approach is a three-season checklist with extra insulation and rain gear added.
Solo, Family, and Group Trip Variations
Solo trips mean you carry everything yourself. Group trips allow you to split shared gear like stoves, water filters, first aid kits, and tents. Families need extra items like kid-sized sleeping bags, games, and comfort items that help children sleep better in a new environment.
Gear-Specific Checklist Items You Shouldn’t Overlook
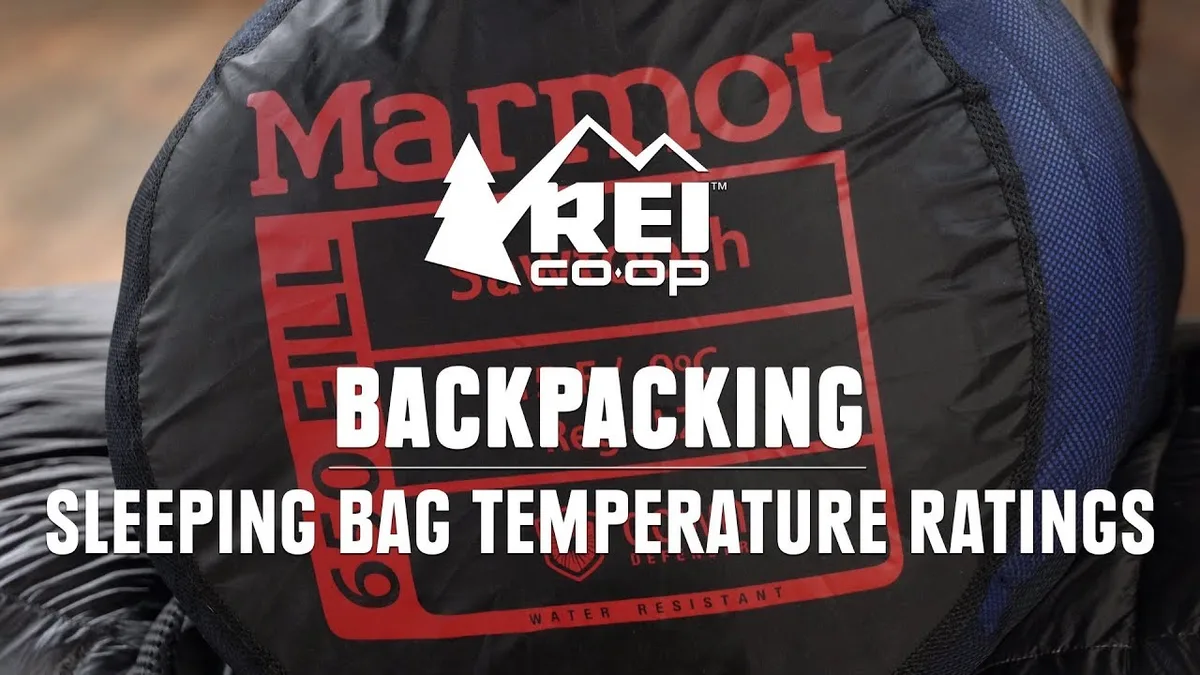
These items are easy to forget or mismatch, and they’re the ones that most commonly ruin a trip.
Sleeping Bag Temperature Ratings and R-Values
A sleeping bag’s temperature rating is not a comfort guarantee. The rating tells you the lowest temperature at which a “standard” person can survive, not sleep comfortably. Add 10 to 15 degrees to the rating for a realistic comfort range.
A 20-degree bag is comfortable down to about 35 degrees for most people.
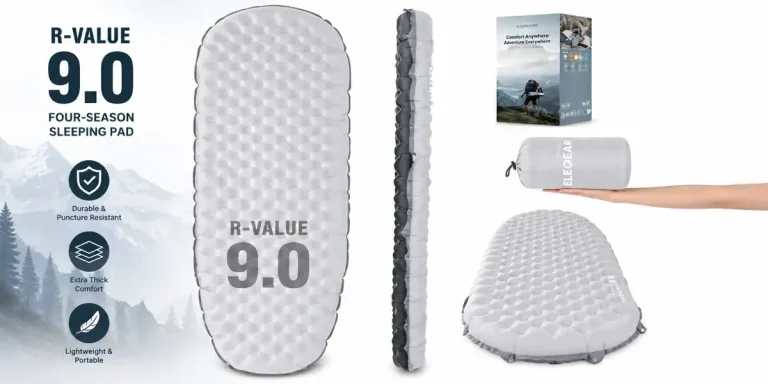
R-value measures a sleeping pad’s insulation. An R-value of 1 to 2 works for summer. R-value 3 to 4 works for three-season camping.
R-value 5 or higher is needed for winter. Stacking two pads adds their R-values together.
Stove Fuel Types and How Much You Need
Isobutane canisters work well above freezing but lose pressure below 30 degrees. White gas stoves work in all temperatures but require priming and maintenance. Alcohol stoves are ultralight but slow.
Match your stove type to your season and trip length.
A good rule of thumb: one small canister (100g) lasts one to two days for one person cooking simple meals. Double that for cold weather or larger groups.
Water Storage Volumes Per Person Per Day
One gallon per person per day covers drinking, cooking, and basic hygiene. In hot weather or at high altitude, increase to 1.5 gallons. A 3-liter hydration bladder plus a 1-liter backup bottle is a common setup for day hiking.
For base camping, a 5-gallon collapsible container works well if water is available nearby.
Battery Life and Backup Power Planning
Check the runtime of every battery-powered device. Headlamps on high mode drain fast. GPS devices and satellite messengers need charged batteries.
A 10,000 mAh power bank can charge a phone about two to three times. A 20,000 mAh bank can handle a phone and a headlamp for a five-day trip.
Safety and Legal Items Most People Skip
These items don’t make packing fun, but skipping them can end a trip early or create serious problems.
Fire Bans and Campfire Permits
Many public lands enforce seasonal fire bans. Cooking with a propane stove is usually allowed during bans, but campfires are not. Check the local land management agency’s website before you pack firewood or a fire starter kit.
Bear Canister Requirements
Some parks and forests require approved bear-resistant canisters for all food, trash, and scented items. Soft-sided coolers and dry bags are not acceptable. A bear canister weighs about 2 to 3 pounds and takes up pack space, but it’s non-negotiable in regulated areas.
First Aid Kit Size for Your Group
A pre-packaged first aid kit is a starting point, not a finished product. Open it, check the supplies, and add items specific to your group. Blister care is the most common need.
Add antihistamines for allergic reactions and ibuprofen for pain and inflammation. For groups larger than four, double the quantities of bandages and tape.
Communication Devices for Remote Areas
Cell service is unreliable in most campgrounds and nonexistent in backcountry areas. A satellite messenger or personal locator beacon allows you to send SOS signals or text messages from anywhere. If you’re hiking more than a mile from the trailhead, carry one.
The cost is modest compared to the peace of mind it provides.
The Post-Trip Review: Why It Makes Your Next Trip Better
The best checklist improvement happens after you return home. While everything is fresh in your mind, write down three things you forgot and three things you packed but never used.
That forgotten item goes to the top of your list for next time. That unused item gets removed. Over two or three trips, your checklist becomes optimized for exactly how you camp.
This review also catches equipment failures. If your sleeping pad deflated overnight or your stove sputtered on the last morning, add those items to a replacement or repair list. Fixing gear problems between trips means you never arrive at camp with broken equipment.
Frequently Asked Questions
What’s the minimum number of items I need for a camping trip?
For a basic overnight car camping trip, you need about 20 to 25 items: tent, sleeping bag, sleeping pad, pillow, stove, fuel, pot, spork, cup, water bottle, food, headlamp, first aid kit, toilet paper, and one change of clothes. Backpacking can trim that to 15 to 18 items if you use multi-purpose gear.
Should I use a printed checklist or a phone app?
Use a printed checklist for the trip itself. Phones lose battery, get dropped in water, and are less convenient to read in direct sunlight. Keep a digital master list that you update after each trip, then print a fresh copy before every departure.
How do I make a checklist for a group trip?
Start with a master list that includes all shared gear (tents, stoves, water filters, first aid kit). Then assign specific items to specific people. Each person also needs their own personal gear list.
Share the full list with everyone at least one week before the trip so gaps can be identified.
What do I do if I realize I forgot something on the trail?
Assess whether it’s a safety issue or a comfort issue. If you forgot something critical like a sleeping bag or water filter, consider turning back. For comfort items like a pillow or camp chair, you can improvise.
Most forgotten items have a workaround, but water treatment and shelter are non-negotiable.
How often should I update my camping checklist?
Update it after every trip. Add items you missed and remove items you never used. Also update it when you buy new gear, new equipment might have different care requirements or compatibility needs.
A checklist that sits unchanged for a year is outdated.
The Post-Trip Review: Why It Makes Your Next Trip Better
The best checklist improvement happens after you return home. While everything is fresh in your mind, write down three things you forgot and three things you packed but never used.
That forgotten item goes to the top of your list for next time. That unused item gets removed. Over two or three trips, your checklist becomes optimized for exactly how you camp.
This review also catches equipment failures. If your sleeping pad deflated overnight or your stove sputtered on the last morning, add those items to a replacement or repair list. Fixing gear problems between trips means you never arrive at camp with broken equipment.
Your Starter Checklist: Printable Template for Three Trip Types
Here are three baseline checklists to build from. Customize them based on your specific trip parameters.
Lightweight Backpacking (Under 30 Items)
| Category | Items |
|---|---|
| Shelter | Ultralight tent or tarp, groundsheet, stakes |
| Sleep | Sleeping bag, sleeping pad, pillow stuff sack |
| Kitchen | Stove, fuel, pot, spork, cup, lighter |
| Hydration | Water bottles (2), water filter or tablets |
| Clothing | Hiking clothes, rain jacket, extra socks (2), sleep layer |
| Tools | Headlamp, multi-tool, map, compass, duct tape |
| Safety | First aid kit, whistle, emergency blanket, bear canister |
| Hygiene | Trowel, toilet paper, hand sanitizer, trash bag |
Standard Car Camping (40-60 Items)
Add to the backpacking list: larger tent, camp chairs, camp table, lantern, cooler, full cook set, extra clothing, camp shoes, towel, pillow, books or games, power bank, lantern, and extra food options.
Winter Camping (Cold-Weather Additions)
Add to either base list: four-season tent, sleeping bag rated for 10 degrees below the expected low, sleeping pad with R-value of 5 or higher, insulated water bottle, extra fuel (2-3x summer amount), hand warmers, insulated boots, gaiters, ski goggles, and a snow shovel.
Frequently Asked Questions
What’s the minimum number of items I need for a camping trip?
For a basic overnight car camping trip, you need about 20 to 25 items. Backpacking can trim that to 15 to 18 items if you use multi-purpose gear. The non-negotiable items are shelter, sleep system, water, food, and first aid.
Should I use a printed checklist or a phone app?
Use a printed checklist for the trip itself. Phones lose battery, get dropped in water, and are harder to read in direct sunlight. Keep a digital master list that you update after each trip, then print a fresh copy before every departure.
How do I make a checklist for a group trip?
Start with a master list that includes all shared gear. Assign specific items to specific people. Each person also needs their own personal gear list.
Share the full list with everyone at least one week before the trip so gaps can be identified.
What do I do if I realize I forgot something on the trail?
Assess whether it’s a safety issue or a comfort issue. If you forgot something critical like a sleeping bag or water filter, consider turning back. For comfort items like a pillow or camp chair, you can improvise.
How often should I update my camping checklist?
Update it after every trip. Add items you missed and remove items you never used. Also update it when you buy new gear.
A checklist that sits unchanged for a year is outdated and unreliable.