How to Replace a Roof on a Camper: Step-by-Step
You’re staring at a water stain on your camper ceiling, and you already know what’s coming. If you’ve ever wondered how to replace a roof on a camper, the answer isn’t a single recipe; it’s a decision tree that depends entirely on what you find when you start peeling back the layers. Most people grab a tube of sealant and call it a day, but that’s like putting a bandage on a broken bone.
Manufacturer specifications from RVIA indicate that a properly installed EPDM roof should last 15, 20 years, but even the best membrane fails when the underlying decking rots. As of 2026, the average DIY replacement costs between $200 and $800 in materials, but only if you choose the right path. Let’s walk through which path that is.
Quick Answer
Replace a camper roof by first diagnosing your deck condition. Sound decking with a failed membrane means a cap-over or full membrane replacement. Soft, rotted decking means a mandatory tear-off down to the plywood.
Coating only works on a sound membrane with failed seams. Always test for leaks after curing. Never skip the soft-spot inspection.
The Real Problem: Leaks and Rot Are Just the Beginning
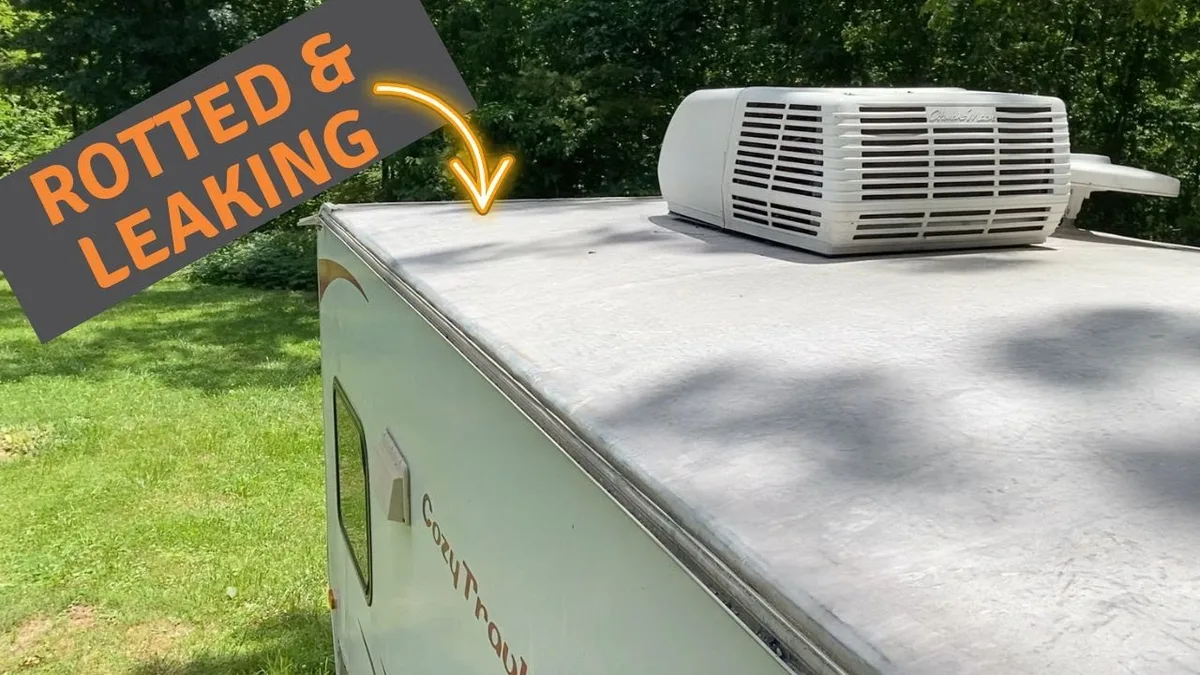
Water damage is the real enemy, and it’s almost never where you first see it. A single pinhole leak can travel along a truss, pool behind a wall panel, and turn a small section of plywood into mush before you even notice. By the time you see a stain inside, the rot has already had months to spread.
The problem compounds because camper roofs are built from multiple layers, membrane, decking, insulation, and ceiling panel. Moisture trapped between these layers creates the perfect environment for mold and delamination. That’s why simply sealing the outside leak without addressing the deck condition is a recipe for repeating the job in a year.
Most DIYers skip the most critical step: a thorough assessment. They see a cracked membrane and assume a patch will hold. But if the deck underneath is soft, that patch is just holding water against the rot.
You need to know exactly what you’re dealing with before you spend a dime on materials.
Core Explanation: What You’re Actually Working With
A camper roof isn’t complicated, it’s a flat or slightly crowned sandwich of materials. Understanding that sandwich is the key to making the right call.
The layers from top to bottom:
| Layer | Typical Material | Purpose |
|---|---|---|
| Membrane | EPDM rubber, TPO, fiberglass, or aluminum | Water barrier and UV protection |
| Decking | 3/8″ or 1/2″ exterior-grade plywood, OSB, or Luan | Structural base for the roof |
| Insulation | Foam board or fiberglass (sometimes none) | Thermal barrier |
| Interior ceiling | Vinyl-laminated panel or plywood | Finished look and vapor barrier |
How to identify your roof type without guessing:
- EPDM, rubbery feel, black or white, seams are usually visible and sealed with lap sealant. It’s the most common on travel trailers built between 1990 and 2015.
- TPO, slightly stiffer, white or grey, seams are heat-welded or taped. Common on newer, higher-end RVs.
- Fiberglass, hard, glossy, one-piece shell. Found on older Airstreams and molded trailers. Rarely needs replacement but cracks can occur.
- Aluminum, metal sheet with standing seams. Common on vintage campers and some truck campers. Can corrode at fastener points.
The decking underneath is what determines whether you need a full tear-off. If the deck is solid (no soft spots when you press with your foot, no dark stains from water), you can cap over or coat. If it’s soft, you’re tearing it all out.
Condition Variables: The Three Scenarios That Change Your Plan
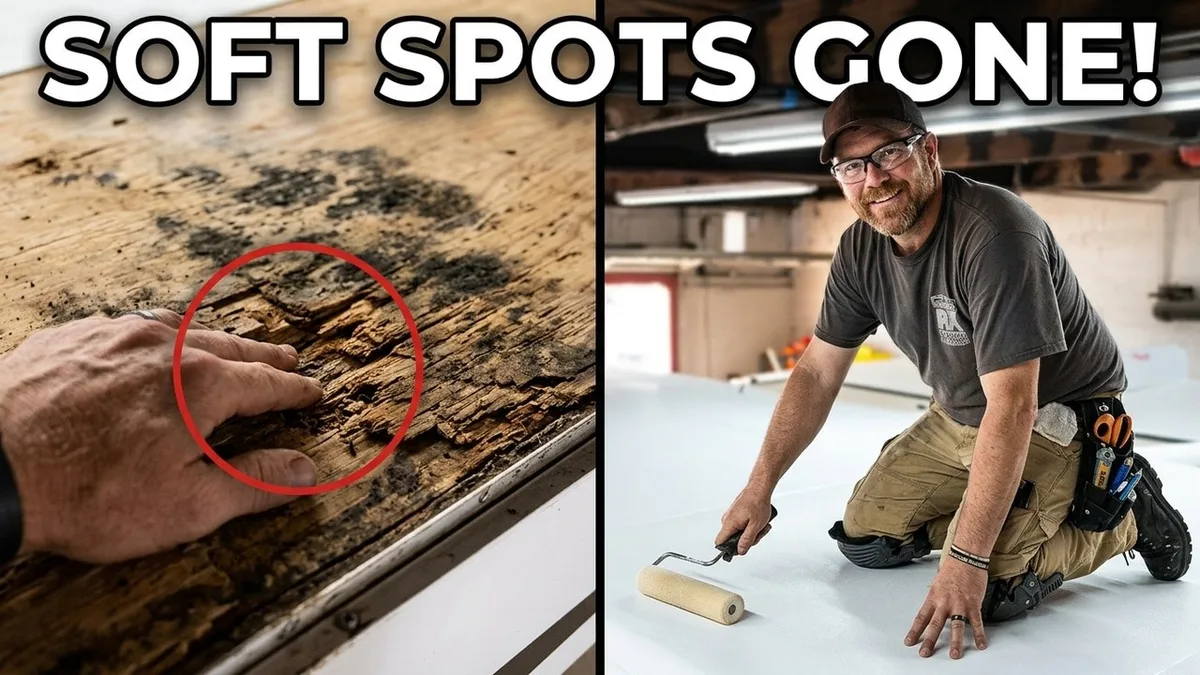
Image source: YouTube / Your RV Specialists (YouTube thumbnail (fair-use with source credit))
Here’s where the decision tree splits. Walk through each scenario honestly, don’t talk yourself into a quicker fix if your deck is borderline.
Scenario A: Soft spots, rot, or delaminated decking
You press on the roof, and it gives. You poke a screwdriver into a corner and hit mush. Maybe the ceiling sags in a spot.
This is the worst-case scenario, but it’s also the most common in campers over 10 years old.
Your only option is a full tear-off. You have to remove the old membrane, pull out the damaged plywood, and replace the decking before putting new roofing on. Skipping this step guarantees failure within a year. Full tear-off is labor-intensive but gives you a completely fresh start, the longest-lasting solution.
Scenario B: Sound deck with cracked or peeling membrane
The deck is firm underfoot. No soft spots. But the rubber is brittle, cracked at the edges, or pulling away from the trim.
You may have leaked a vent that spread.
You have two viable options:
- Cap-over: Install a new membrane directly over the old one after cleaning and priming. This works if the old membrane is still adhered and you don’t have more than one existing layer. It’s faster and cheaper than a tear-off, but it adds weight and can trap moisture if the old membrane leaks later.
- Full membrane replacement: Remove the old membrane, but keep the sound decking. More work than a cap-over, but it eliminates the risk of trapped moisture. This is the better long-term choice if you plan to keep the camper for more than 5 years.
Scenario C: Sound deck and membrane, failed seals only
The rubber looks fine. No cracks, no bubbles. But water is getting in around the vent, the antenna base, or a seam where the sealant has dried up.
A liquid coating (silicone or acrylic) is your best bet. It seals the entire surface and all penetrations in one continuous layer. No need to replace anything. This is the fastest and cheapest fix, but it only works if the underlying membrane is intact.
If the membrane has pinholes or delamination, coating won’t fix it.
When not to coat: Over a previously coated surface that’s peeling. Over multiple old layers of sealant. On a roof that pools water because of a sag.
Coating adds weight and is difficult to remove later.
Decision Branches: Choosing Your Path
Now that you’ve identified your scenario, here’s how to pick the right method with confidence.
Branch 1: Full Tear-Off and Replace
When it’s necessary: Scenario A (soft decking) or any case where the membrane is beyond repair and you want the absolute best result.
Materials to choose from:
| Material | Pros | Cons | Lifespan |
|---|---|---|---|
| EPDM | Easy to DIY, affordable, flexible | Requires annual sealant reapplication, can puncture | 15–20 years |
| TPO | More UV-resistant, easier to clean, heat-weldable seams | Slightly more expensive, requires special tools for welding | 20–25 years |
| Fiberglass panels | Extremely durable, low maintenance | Heavy, expensive, and difficult to install perfectly | 30+ years |
For most DIYers, EPDM is the sweet spot. It’s forgiving, widely available, and doesn’t require special equipment. TPO is better if you live in a high-UV area like Arizona or New Mexico.
Cost: $200, $500 for materials on a typical 8×16 ft camper. Add $100, $200 if you need new decking.
Time: 2, 4 days if you work steadily. One full day to tear off and remove old decking. One day to install new decking.
One day to install the membrane. One day to reinstall trim and appliances and seal.
Branch 2: Cap-Over
When it works: Scenario B with a single-layer, well-adhered old membrane. The manufacturer of the new membrane must approve cap-over installation; most EPDM brands do, but check the specs.
Risks: Trapping moisture is the biggest. If the old membrane has hidden leaks, you’re sealing them in. Also adds weight (about 30, 50 lbs on a typical roof).
Some insurance and warranty restrictions apply; check your camper’s documentation.
Best for: Someone who wants a quick fix for a camper they’ll sell in a few years, or has a very tight budget.
Cost: $150, $400 for materials.
Time: 1, 2 days.
Branch 3: Liquid Coating
When it works: Scenario C (sound everything, just failed seals). Also works as a temporary fix for a roof you plan to replace later.
Comparison of coating types:
| Coating Type | Best For | Drying Time | Weight | Repairability |
|---|---|---|---|---|
| Silicone | High UV areas, long-term seal | 4–8 hours | Medium | Can recoat with silicone only |
| Acrylic | Budget projects, mild climates | 1–2 hours | Light | Can recoat with acrylic or silicone after primer |
| Polyurethane | High-traffic roofs, durability | 12–24 hours | Heavy | Difficult to recoat |
Common mistake: Applying coating over dirty or wet surfaces. The bond will fail within months. You must clean, dry, and sometimes prime the old roof.
Cost: $100, $300 depending on size and brand.
Time: 1 day for cleaning and application, plus curing time.
Expert tip: Use EternaBond tape over the worst seams before coating. It creates a permanent mechanical seal that the coating bonds to. This adds less than $50 and dramatically reduces future leaks.
Now you have the framework. The next sections will walk through the actual steps for a full tear-off replacement, the most thorough method. But if you’re in Scenario B or C, you can jump ahead to the cap-over or coating summaries later in the guide.
Step-by-Step Process: How to Replace a Camper Roof (Full Tear-Off Focus)
This section assumes you’re in Scenario A, rotted decking or a completely failed membrane. If your deck is sound, you can skip the decking replacement steps. But if you’re here, you’re committed to doing it right.
Step 1: Clear the Roof and Protect the Interior
Remove everything mounted on top: AC unit, vents, skylight, TV antenna, solar panels. Label each part and bag the screws. Cover your interior with plastic sheeting.
Debris and old sealant will fall through the openings.
Wear gloves and a dust mask. Old sealant and wood dust aren’t things you want to breathe.
Step 2: Tear Off the Old Membrane and Decking
Cut the membrane into manageable strips with a utility knife. Pry it up starting at the edge. Scrape off the old lap sealant and butyl tape with a putty knife.
Once the membrane is gone, inspect the plywood deck. Use a screwdriver to probe for soft spots. Mark any sections that sound hollow when tapped.
Remove all decking screws with a drill.
Cut out rotted plywood with a circular saw set to the decking depth (usually 3/8″ or 1/2″). Be careful not to cut into the roof trusses underneath. Pry the bad sections free.
Step 3: Install New Decking
Cut replacement plywood to fit the gaps. Use exterior-grade 3/8″ or 1/2″ plywood, never interior-grade. Prime the cut edges with a wood preservative or exterior paint.
Screw the new plywood into the existing trusses using 1-1/4″ exterior screws. Space them every 6 inches along each truss. Caulk every screw head with a dab of lap sealant.
If more than 50% of the roof needs decking replacement, it’s worth replacing the entire deck in one go. Patchwork can create weak seams.
Step 4: Install the New Membrane
For EPDM, roll out the membrane on a clean, dry deck. Trim it to leave 4, 6 inches of overhang on all sides. Some DIYers glue the entire surface; others only glue edges and fasten mechanically.
For a camper, full glue-down is recommended.
Apply EPDM adhesive to the deck and the underside of the membrane using a 1/4″ nap roller. Let it tack up as the manufacturer directs (usually 10, 20 minutes). Roll the membrane into place, starting from the center and working outward.
Use a heavy roller to press out air bubbles.
For TPO, heat-weld the seams after positioning. Rent a hot air welder if you don’t own one. Mechanically fasten the edges, then cover fasteners with seam tape.
Step 5: Trim, Seal, and Reinstall Appliances
Trim the excess membrane at the edges with a sharp blade. Install drip edge trim over the membrane edge, screwing into the plywood edge. Seal each screw head and the trim seam with lap sealant.
Reinstall all vents, AC units, and antennas using new gaskets and butyl tape. Run a generous bead of self-leveling lap sealant around each base. Don’t skimp, thin beads crack in a year.
Let the roof cure for 24, 48 hours before water testing. Then run a garden hose over every seam and penetration. Check inside for drips.
Fix any leaks with more sealant before calling it done.
Common Mistakes and How to Avoid Them
The roof replacement community sees the same five errors over and over. Skip these and you’ll save yourself a second job.
1. Skipping the soft-spot test. If you cap over rotted decking, the new roof will sag within 12 months. Always press every square foot of the old deck with your foot.
If it gives, tear it out.
2. Using silicone sealant on EPDM. Silicone won’t bond to rubber. Use only self-leveling lap sealant (Dicor or similar) for EPDM roofs.
For TPO, use TPO-compatible sealant.
3. Over-tightening screws. Drive screws until snug, then stop. Cranking them down deforms the membrane and creates dimples where water pools.
4. Sealing over damp surfaces. Lap sealant and adhesive need a dry surface to bond. If the roof is wet from rain or morning dew, wait.
A dry roof in 70°F conditions bonds properly.
5. Ignoring edge gaps. Water wicks up between the membrane and the drip edge if it isn’t sealed tight. Run a bead of non-sag sealant along the top of the drip edge after installation.
Costs and Data: What to Expect
Let’s be realistic about what you’ll spend. These are material-only prices for a typical 8×16 ft camper roof as of 2026.
| Item | Cost Range | Notes |
|---|---|---|
| EPDM membrane (10×20 ft roll) | $80–$150 | Includes adhesive |
| TPO membrane (10×20 ft roll) | $120–$200 | Higher UV resistance |
| Exterior plywood (4×8 sheet) | $30–$60 each | 2–3 sheets for full deck |
| Self-leveling lap sealant (per tube) | $10–$15 | 3–5 tubes needed |
| EternaBond tape (6″ x 50 ft) | $40–$60 | Covers seams permanently |
| Drip edge trim | $20–$40 | Per 10-foot section |
| Butyl tape (for vents/AC) | $10–$20 | One roll is enough |
| Misc. screws, caulk, primer | $20–$40 | |
| Total DIY material cost | $200–$800 | Higher end includes new decking |
Labor comparison: A professional installation costs $1,500, $5,000. That buys you speed and warranty, but you can do the same work yourself for a quarter of the price if you have the time.
Timeline: Expect 2, 4 full days for a tear-off and replacement with new decking. Add extra days if you work evenings or weekends.
Roof lifespan after replacement:
- EPDM: 15, 20 years with annual sealant inspection
- TPO: 20, 25 years
- Fiberglass panels: 30+ years
- Liquid coating (over sound roof): 5, 10 years before recoat
Expert Tips for a Long-Lasting Roof
Small choices during installation determine whether your roof lasts 15 years or fails in 5.
Temperature matters. Install membrane between 60°F and 80°F. Below 50°F, adhesives don’t set properly. Above 90°F, the membrane becomes too soft to handle.
Plan for spring or fall.
Use EternaBond on all seams. Even if you use lap sealant, apply a strip of EternaBond tape over the membrane-to-vent joints. It creates a permanent mechanical seal that sealant alone can’t match.
Inspect annually. Walk the roof every spring. Look for cracked sealant, lifted tape, or debris that traps moisture. Recault any suspect seams immediately.
A $10 tube of sealant today saves a $800 full replacement next year.
Keep a maintenance log. Note what sealant you used and when. Photograph the roof. That way you remember what’s new and what’s original.
Never walk on a hot roof. In direct sun, EPDM gets soft enough to puncture with a heel. Walk only in the early morning or on cool days.
Safety, Warnings, and When to Call a Pro
This job involves height, sharp tools, and heavy materials. Don’t skip the basics.
Ladder safety. Place your ladder on stable ground. Have someone hold it if you’re working alone. Never lean sideways, climb down and move the ladder.
Fall protection. If your camper roof is over 10 feet high, consider a harness anchored to a sturdy tree or a ground stake. One slip on wet EPDM can send you off the edge.
Respiratory protection. The plywood dust from cutting decking and the fumes from adhesives and sealants are irritants. Wear an N95 mask and work in a well-ventilated area. Follow the safety instructions on each product.
Asbestos in vintage campers. If your camper was built before 1980, the old sealant or roof insulation may contain asbestos. Assume it does unless a lab test proves otherwise. Have a professional test a small sample if you’re concerned.
Never sand old sealant without a proper respirator and a containment plan.
When to call a pro:
- If more than half the decking is rotted and the trusses are damaged
- If the ceiling is sagging or the interior walls are bowing inward
- If you’re working on a single-piece fiberglass shell that needs structural repair
- If you can’t safely reach the roof (two-story campers, steep slopes, unstable ground)
In those cases, the cost of a professional is cheaper than the hospital bill or the cost of a collapsed roof.
Frequently Asked Questions
How do I know if my camper roof needs a full replacement?
Press every square foot with your foot. If you feel soft spots or hear hollow sounds, the decking is rotted. Check for dark stains on the ceiling or walls inside.
Any of these signs means a full tear-off is necessary.
Can I replace just the membrane without removing the decking?
Yes, if the decking is sound and dry. Remove the old membrane but leave the plywood in place. Clean the deck thoroughly, prime it, and install the new membrane.
This is a full membrane replacement without a deck tear-out.
How long does a liquid coating last on a camper roof?
A quality silicone or acrylic coating lasts 5 to 10 years on a sound roof. It requires annual inspection and spot touch-ups. Coating won’t fix structural rot or delamination, so only use it when the membrane and deck are intact.
What’s the best sealant for EPDM rubber roofs?
Self-leveling lap sealant (Dicor or equivalent) is the standard. It’s designed to bond to EPDM and flex with temperature changes. Never use silicone on EPDM, it won’t adhere and will peel within months.
Is it cheaper to replace the roof myself or hire a pro?
DIY costs $200 to $800 in materials for a typical camper. Professional installation runs $1,500 to $5,000. You save $1,000 or more by doing it yourself, but it takes 2 to 4 days and requires careful attention to detail.
Final Decision Guide: Which Path Is Right for You?
| Your Situation | Best Method | Cost Range | Time |
|---|---|---|---|
| Soft or rotted decking | Full tear-off with new decking | $300–$800 | 3–4 days |
| Sound deck, failed membrane | Full membrane replacement | $150–$400 | 2–3 days |
| Sound deck and membrane, failed seals | Liquid coating or spot repair | $100–$300 | 1–2 days |
Start with the soft-spot test. That single step determines everything. If the deck is solid, you have options.
If it’s soft, commit to the full tear-off. A rushed job on a bad deck will leak again within a year.
Roof replacement on a camper isn’t complicated. It’s just hard work on your knees in the sun. But do it right once, and you won’t have to think about it again for a decade and a half.