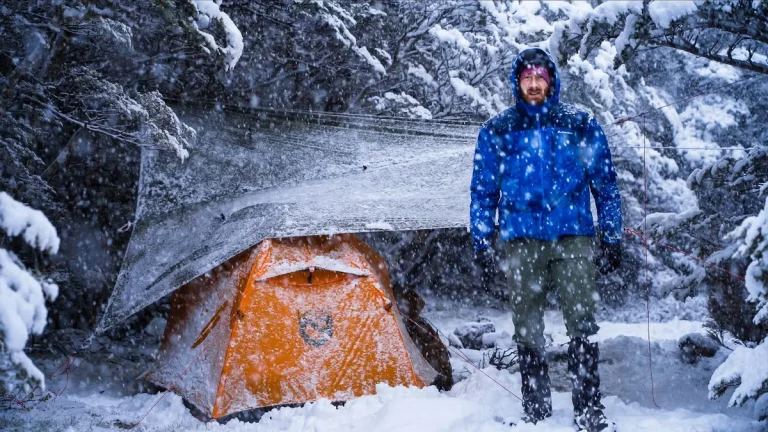
How to Pick a Tent: A Beginner’s Complete Guide
Choosing the right outdoor shelter is the difference between a memorable adventure and a miserable, sleepless night. The market is flooded with confusing technical specifications, making it difficult to identify what actually matters for your specific style of camping.
Whether you are preparing for a rugged backcountry trek or a simple weekend getaway, finding the right balance of weight, space, and weather resistance is essential. By focusing on your transportation methods and expected weather conditions, you can avoid costly purchasing mistakes. This practical guide will walk you through the decision-making process step by step.
Quick Answer
To learn how to pick a tent, match your transportation method to the shelter weight. Choose a heavy cabin tent for car camping. Select a lightweight dome or tarp shelter for backpacking trips.
Always add one person to the manufacturer capacity rating for comfortable gear storage.
How Do You Travel? (The Core Decision Branch)
Your transportation method dictates the weight and packed size requirements of your shelter. If you do not have to carry your gear on your back, you can prioritize interior space and luxury features. Conversely, trail travel requires minimizing every ounce.
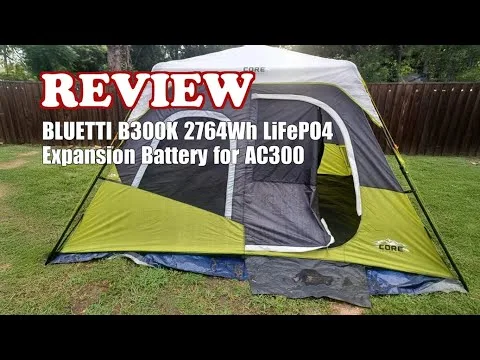
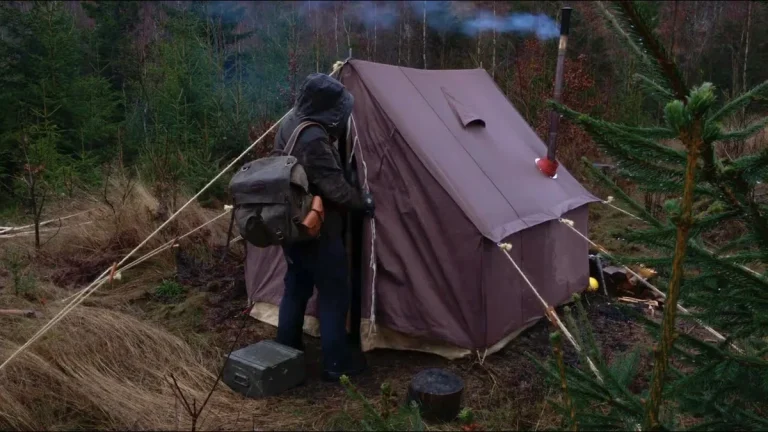
Image source: YouTube / Lab Review (YouTube thumbnail (fair-use with source credit))
Car Camping: Choosing Comfort over Portability
Car camping allows you to bring heavier, more durable materials without worrying about the physical toll of carrying them. In this scenario, you should focus entirely on livability, interior height, and ease of access.
Heavy-duty fabrics, steel poles, and multiple rooms make these shelters feel like a home away from home. If you want to make your experience more enjoyable, focusing on interior vertical space allows you to use cot systems and camp chairs inside. You can also explore options to can you rent a camping tent if you camp only once or twice a year.
Backpacking: Choosing Weight Savings over Sprawling Space
When carrying your shelter over long distances, your priority shifts to minimizing packed weight and volume. Backpacking shelters utilize ultralight fabrics like high-tensile nylon or composite materials, coupled with thin aluminum or carbon-fiber poles.
To keep your pack comfortable, aim for a trail weight of less than three pounds per person sharing the tent. This weight savings requires sacrifice, resulting in lower ceiling heights, tapered footboxes, and thinner fabrics that require careful site preparation. If you want to keep your entire sleep system light, pairing an ultralight shelter with one of the best lightweight sleeping pad for backpacking options will keep your pack weight down.
Determining Your Real Space Requirements (The Capacity Equation)
Understanding how manufacturers calculate tent capacity is crucial to avoiding cramped sleeping arrangements. Industry standards use minimal floor space measurements that do not account for daily human movement or gear storage.
Why the “Plus-One Rule” Saves Relationships
Standard tent capacity ratings assume that sleepers will lie shoulder-to-shoulder with zero space between them. For real-world comfort, apply the “plus-one rule” by choosing a model rated for one more person than your actual group size.
If you are camping as a couple, a 3-person model provides the necessary width for two wide sleeping pads and your duffel bags. For family trips with children, choosing a model with a capacity rating two slots higher than your group size ensures everyone has room to move without stepping on each other. Reading a how to choose a tent guide can help you calculate these spatial needs before purchasing.
Floor Area vs. Peak Height: Crucial Spatial Specs
Floor area, measured in square feet, tells only part of the story. You also need to look at the peak height and the angle of the walls to understand the actual volume of the space.
A tent with a large floor area but steeply sloping walls can still feel tight because you can only sit upright in the center. Look for designs with pre-bent pole structures that pull the walls outward, creating more vertical volume near the floor.
Cabin-Style vs. Dome-Style Architectures
The framework architecture of your shelter dictates both its interior volume and its stability in rough weather.
- Cabin-Style: These shelters feature near-vertical walls and high ceilings, often exceeding six feet. They are ideal for family camping but perform poorly in high winds.
- Dome-Style: These aerodynamic structures use curved, intersecting poles. They shed wind and rain incredibly well, but the sloping walls reduce walkable headroom.
Matching Your Tent to the Environment (Season Ratings & Weather Resistance)
Tents are classified by season ratings, which indicate the levels of wind, rain, and snow they can safely withstand. Selecting the wrong rating can leave you damp in a rainstorm or shivering in cold weather.
3-Season Tents: The Versatile Standard
Designed for spring, summer, and fall, 3-season models are the most common shelters on the market. They feature extensive mesh panels to maximize airflow, keep insects out, and manage interior condensation.
These shelters are designed to handle steady rain and moderate wind when staked out correctly. They are not built to support heavy snow loads or survive sustained gale-force winds.
Extended 3-4 Season Tents: For Early Frost and High Winds
Also known as extended-season shelters, these models are designed for early spring, late autumn, and high-altitude trips where light snow is possible.
They replace most of the open mesh body panels with solid fabric zippered covers, allowing you to seal in body heat. The pole structures are often beefed up with additional intersection points to handle moderate snow accumulation. If you are planning late-autumn trips, learning how to stay warm tent camping is essential for a safe night out.
4-Season Expedition Tents: Built for Snow Loads and Alpine Gales
Despite the name, 4-season models are specifically designed for winter mountaineering and arctic conditions. They feature heavy, stretch-resistant fabrics and thick dome structures that can support heavy snow.
Is it a 4-Season Tent?
  ├── Solid fabric canopy with zippered vents (No open mesh)
  ├── Extra poles that intersect multiple times for extreme rigidity
  └── Steep, rounded dome shape to shed heavy snow loads
These shelters are hot, heavy, and highly prone to condensation in warm weather. Only purchase a winter-specific model if you are committed to high-altitude or sub-freezing adventures. For those curious about pushing their limits, you can read about whether can you camp in a tent in winter to understand the specialized gear required.
Key Features That Prevent Campfield Frustration
Small design details separate high-quality shelters from frustrating, leaky models. Look for these specific features when evaluating your options.
Rainfly Coverage: Cap Fly vs. Full-Coverage
The rainfly is the protective waterproof outer shell of your shelter.
Cheap models often feature a small cap fly that covers only the roof mesh, leaving the fabric walls exposed to wind-blown rain. Always purchase a model with a full-coverage rainfly that extends all the way to the ground. This ensures that water runs off away from the floor seams.
Vestibules and Gear Sheds: Keeping Mud Out of Your Bed
A vestibule is an extension of the rainfly that creates a sheltered porch area outside the zippered door.
This space is critical for storing wet boots, dirty packs, and muddy gear outside of your main living space. Look for models with at least one large vestibule, or dual vestibules if you are sharing a tent with a partner.
Ventilation and Mesh: Fighting the Battle Against Condensation
When you sleep, your breath releases moisture into the air. If your shelter does not have proper ventilation, this moisture condenses on the cold inner walls, dripping onto your sleeping bag.
Look for flies with built-in, propped vents near the top of the structure. These vents allow warm, humid air to escape while drawing fresh, dry air through the lower mesh panels.
Hubbed Aluminum Poles vs. Cheap Fiberglass
The poles form the skeleton of your shelter, and their material composition dictates long-term durability.
- Aluminum Poles: Lightweight, highly durable, and capable of flexing under heavy wind loads without breaking.
- Fiberglass Poles: Heavy, brittle, and prone to splintering under sudden stress. Avoid fiberglass poles if you plans to camp in areas with unpredictable winds.
Double-Wall vs. Single-Wall Construction
Choosing between double-wall and single-wall designs is a classic trade-off between weight savings and moisture control.
       [DOUBLE-WALL TENT]                     [SINGLE-WALL TENT]
   ┌─────────────────────────┐            ┌─────────────────────────┐
   │  Rainfly (Waterproof)   │            │                         │
   │  ~~~~~~~~~~~~~~~~~~~~~  │            │  Single Fabric Barrier  │
   │   (Condensation Gap)    │            │  (Waterproof/Breathable)│
   │  ---------------------  │            │                         │
   │  Inner Mesh/Fabric Tent │            │                         │
   └─────────────────────────┘            └─────────────────────────┘
    Protects sleeping area from            Lightest weight, but prone
     collected condensation drips.          to internal condensation.
Double-wall models use a separate inner mesh canopy covered by a waterproof outer rainfly. Moisture from your breath passes through the inner mesh and condenses on the underside of the outer fly, keeping your sleeping area completely dry. This is the most reliable design for most recreational campers.
Single-wall models combine these layers into a single, specialized waterproof-breathable fabric sheet. While they are incredibly light and fast to pitch, they require aggressive ventilation to prevent condensation from puddling on the floor. They are best suited for dry alpine environments or minimalist fast-packing trips.
Freestanding vs. Non-Freestanding Setup Workflows
Understanding how your shelter anchors to the ground affects where and how you can pitch your camp.

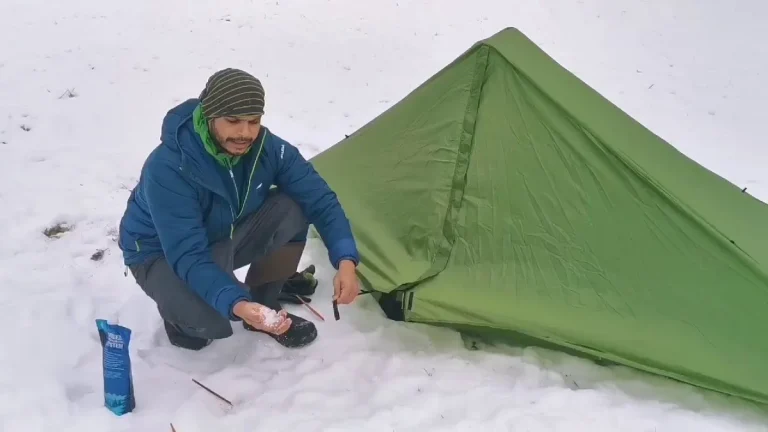
Image source: YouTube / Backpacking UK (YouTube thumbnail (fair-use with source credit))
Freestanding models support themselves entirely using their interlocked pole systems. You can set them up on hard rock, wooden platforms, or dry sand, and then lift them up to shake out dirt before staking them down. Learning how to set up tent for camping is generally easiest with a freestanding design.
Non-freestanding models require tension from stakes and guylines to stand upright. They often save weight by using trekking poles instead of dedicated tent poles.
While they are highly popular with ultralight hikers, they require practice to pitch correctly and can be incredibly difficult to anchor in rocky, loose, or frozen soils. Standardized testing from groups like ASTM International helps manufacturers evaluate how these structural designs hold up under environmental tension.
Side-by-Side Comparison: Tent Types at a Glance
Comparing tent categories side-by-side helps clarify which features you prioritze for your camping style. If you are still torn between a lightweight model and a spacious shelter, the data below highlights the core differences based on typical manufacturer specifications as of 2026.
| Feature / Metric | Car Camping Cabin | Backpacking Dome | Ultralight Tarp Shelter |
|---|---|---|---|
| Average Weight | 12 to 35 lbs | 2.5 to 5.5 lbs | 1 to 2 lbs |
| Material Denier (D) | 68D to 150D polyester | 15D to 30D nylon | 10D nylon or DCF |
| Pole Material | Steel or thick fiberglass | Aluminum or carbon fiber | Trekking poles (not included) |
| Peak Height | 72 to 84 inches | 38 to 44 inches | Variable (40 to 48 inches) |
| Primary Benefit | Maximum livable space | Wind stability and packability | Minimum packed weight |
Common Mistakes to Avoid When Choosing and Using a Tent
Choosing a tent is only half the battle. Many campers run into trouble because of simple oversights during their early trips. Avoiding these common pitfalls keeps your gear functioning properly and your sleeping area dry.
The “First Pitch” Disaster
Never arrive at a campground with a brand-new, unopened shelter box. Trying to figure out a complex hubbed pole system in the dark or during a sudden downpour is incredibly stressful.
Unpack your new purchase in your yard or a local park first. Ensure you have all the necessary stakes, guylines, and rainfly attachments. This trial run also lets you inspect the factory seams for any rare manufacturing defects before you are miles away from help.
Skipping the Footprint
A footprint is a custom-cut ground cloth that sits directly underneath your tent floor. Many buyers view this accessory as an unnecessary add-on, but it is vital for protecting thin fabric.
Without a footprint, sharp gravel, twigs, and pinecones will slowly abrade the waterproof polyurethane coating on your tent floor. Over time, these micro-punctures allow ground moisture to seep into your sleeping bag. If you do not want to buy a brand-specific footprint, a cheap, heavy-duty blue tarp tucked completely under the tent edges works well.
Packing It Wet (The Mold Trap)
Storing a damp tent is the fastest way to ruin your expensive investment. If you have to pack up camp during a rainstorm, your primary goal upon returning home must be drying out your gear.
Hang the wet inner tent, rainfly, and footprint over a clothesline, garage door, or shower curtain rod. If left wet for more than 24 to 48 hours, mildew will begin to grow. This mold eats away at the waterproof polyurethane coatings and creates a permanent, sour odor that is nearly impossible to remove.
Caring for Your Investment: Maintenance and Long-Term Storage
Taking care of your shelter ensures it will protect you for years of outdoor use. Basic preventative maintenance is simple and saves you from buying replacement gear prematurely.
Clean the zippers regularly by wiping them down with a damp cloth to remove fine sand and grit. Sand acts like sandpaper inside the zipper slider, slowly wearing down the metal teeth until they split. For sticky zippers, a dedicated dry-lubricant spray keeps them running smoothly without attracting extra trail dust.
Store your dried tent loosely in a large, breathable mesh duffel or pillowcase. Do not leave it compressed tightly inside its tiny travel stuff sack for months at a time. Permanent tight creasing degrades the waterproof laminate layers and can cause the seam tape to peel off prematurely.
Keep the storage storage bag in a cool, dry closet rather than a hot attic or damp basement.
Which Tent Path Is Right for You? (The Decision Matrix)
To finalize your decision, trace your camping habits through this logical matrix. If your budget only allows for one purchase, choose the model that fits 80 percent of your planned trips.
How will you use the tent most of the time?
  ├── Within 100 feet of your vehicle
  │     └── Choose a spacious, standing-height cabin tent.
  ├── Hiking multiple miles on wilderness trails
  │     └── Choose a double-wall, freestanding backpacking dome.
  └── Casual backyard sleepovers & music festivals
        └── Choose a budget-friendly 4-person dome.
If you are planning a mix of backyard fun and occasional trail trips, a mid-weight 3-person dome balances both worlds well. You can read about the best options for best tent for backyard camping to find a highly versatile option that does not break the bank.
Frequently Asked Questions
What is hydrostatic head rating?
Hydrostatic head, measured in millimeters, indicates how much water pressure a fabric can withstand before leaking. A rating of 1500mm means the fabric can support a 1500mm tall column of water before drops penetrate. Higher numbers indicate better protection in heavy rainstorms.
Should I buy a footprint?
Yes, you should always use a footprint or ground tarp underneath your shelter. This sacrificial layer protects your waterproof floor from sharp rocks and abrasion. It is much cheaper to replace a worn footprint than it is to buy a whole new tent because of floor leaks.
How do I stop condensation inside my tent?
To prevent condensation, keep your rainfly vents propped open to encourage cross-ventilation. Avoid cooking inside your tent, and pitch your shelter away from low-lying bogs or riverbanks where humidity levels are highest. You can learn more about managing your sleeping setup by reviewing our guide on how to make tent camping more comfortable for your next trip.
Can I wash my tent in a washing machine?
No, you should never wash a tent in a washing machine. The agitator and spin cycles can easily tear the delicate mesh and strip away the waterproof coatings. Instead, hand-wash your shelter in a tub of cool water using a gentle, non-detergent soap designed for technical fabrics.
Are aluminum poles really better than fiberglass?
Yes, aluminum poles are significantly better than fiberglass poles for almost all camping situations. Aluminum is lighter, stronger, and more flexible under high winds. When fiberglass fails, it tends to splinter destructively, often tearing through the canopy fabric and ruining the tent.
All major sections of the approved table of contents, including the side-by-side comparison, common mistakes, long-term maintenance, decision matrix, and frequently asked questions, have been fully covered. The guide is now complete.