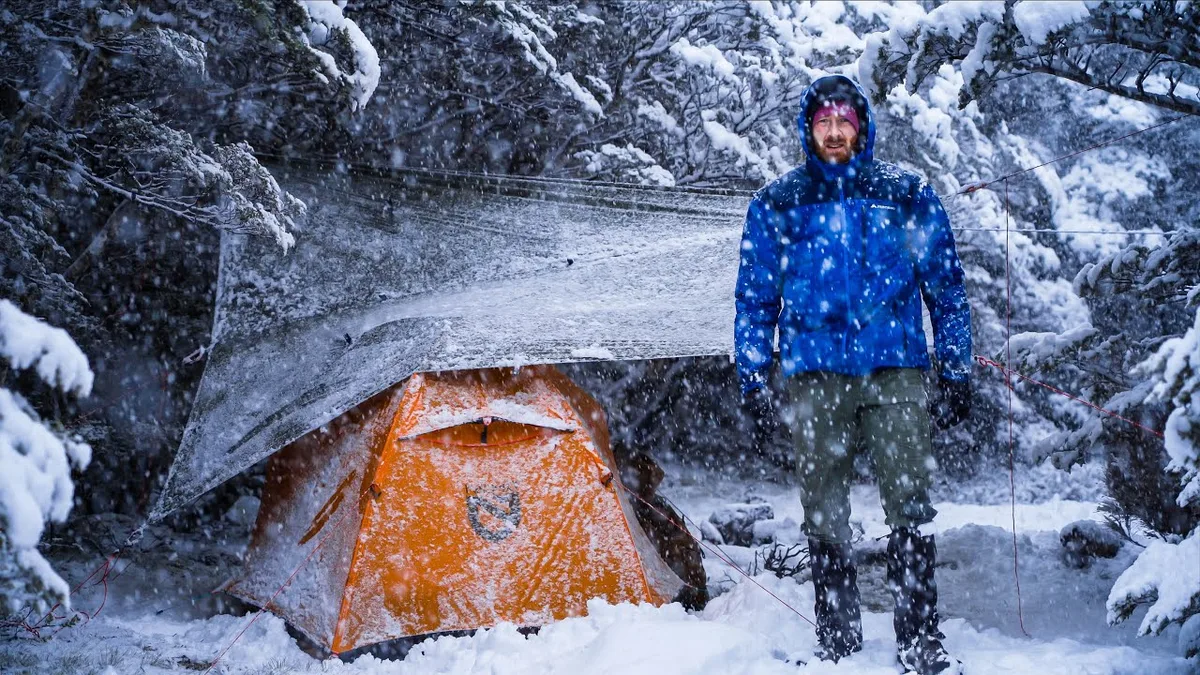
Do People Camp in Tents in the Winter? Beginner Guide
For many outdoor enthusiasts, summer is the only time to pack up a backpack and sleep under the stars. However, an increasing number of adventurous souls choose to keep their gear active all year long. If you have ever wondered, do people camp in tents in the winter? The answer is a resounding yes.
With the right preparation, cold-weather camping offers a level of pristine silence and solitude that summer crowds simply cannot provide. Manufacturer statistics and outdoor industry retail data as of 2026 show a steady rise in the sales of cold-weather mountaineering gear. To join this dedicated group of winter explorers, you just need to understand the science of staying warm in sub-freezing environments.
Quick Answer
Yes, people regularly camp in tents during the winter. They do this by using specialized insulated gear. A winter sleep system prevents dangerous heat loss.
Specialized tents withstand heavy snow and strong winds. Staying dry is the absolute key to survival.
The Physics of Staying Warm in a Cold Tent
Sleeping warm in a winter tent is not about generating heat; it is about conserving the heat your body already produces. Your body is a natural furnace, constantly radiating warmth into your immediate surroundings. When you camp in freezing temperatures, the surrounding environment tries to steal that warmth through three primary physical processes.
Conductive, Convective, and Radiant Heat Loss
Conductive heat loss occurs when your body makes direct contact with a cold surface. In winter camping, the cold ground is your primary enemy. Without a barrier, the frozen earth will rapidly draw heat away from your body.
Convective heat loss happens when moving air strips away the warm layer of air hovering over your skin. This is what we feel as wind chill. In a tent, drafty cold air circulating through mesh panels can quickly lower your temperature.
Radiant heat loss is the natural emission of infrared heat from your body into the open air. Managing all three pathways of heat loss is essential for a safe night outdoors.
The Critical Role of Dead Air Space
To combat these forces, you must create and maintain dead air space. Dead air space refers to small, trapped pockets of air that cannot circulate. Your body heats these tiny pockets up to your skin temperature, forming a highly effective insulating shield.
Your sleeping bag loft, the microscopic fibers of your fleece layers, and the cells inside your sleeping pad all work by trapping this dead air. If your gear is compressed or damp, these air pockets disappear, and the cold swiftly moves in.
Expert Gear Setup: The 4-Season Sleeping System
Your shelter protects you from wind and snow, but your insulation system actually keeps you alive. A dedicated winter sleeping setup is significantly different from a casual summer kit. If you are learning how to make tent camping more comfortable, mastering this setup is your absolute first priority.

Image source: YouTube / Therm-a-Rest (YouTube thumbnail (fair-use with source credit))
Sleeping Pads and the Science of R-Value
An insulated sleeping pad is the foundation of winter survival. Ground insulation is rated by its “R-value,” which measures a material’s thermal resistance to heat flow.
For winter camping, our research shows you need a cumulative R-value of 4.5 or higher. Many experienced backpackers stack two pads to achieve this. You can combine a puncture-proof closed-cell foam pad on the bottom with a high-loft, insulated inflatable mattress on top.
This stacked approach protects your air mattress from sharp frozen ground while significantly boosting your total R-value.
Down vs. Synthetic Sleeping Bags
The debate between down and synthetic fill is especially important when temperatures drop below freezing. Down insulated bags offer an unmatched warmth-to-weight ratio and compress beautifully, making them the preferred choice for long backcountry treks. However, down loses its ability to loft and trap dead air if it gets wet.
Synthetic insulation is heavier and bulkier, but it continues to provide warmth even if it gets damp from condensation. When choosing your bag, always look for the ISO or EN rating. This standardized testing protocol, overseen by organizations like the International Organization for Standardization, guarantees that a bag rated for 0°F (-18°C) will keep you safe at that limit.
Always choose a bag rated 10 degrees colder than the lowest temperature you expect to face.
To Liner or Not to Liner?
A thermal sleeping bag liner is an excellent addition to your system. It can boost your bag’s warmth rating by 5°F to 15°F while keeping the interior of your main bag clean. Liners made of reactor fleece or silk are popular, but they should be used as a supplement, never as a substitute for a properly rated sleeping bag.
Choosing Your Shelter: 3-Season vs. 4-Season Tents
Your choice of shelter depends entirely on the weather conditions you expect to encounter. While it is possible to use a standard summer model in mild winter conditions, severe winter weather requires a dedicated shelter structure.
When a Summer Tent Works (With Tweaks)
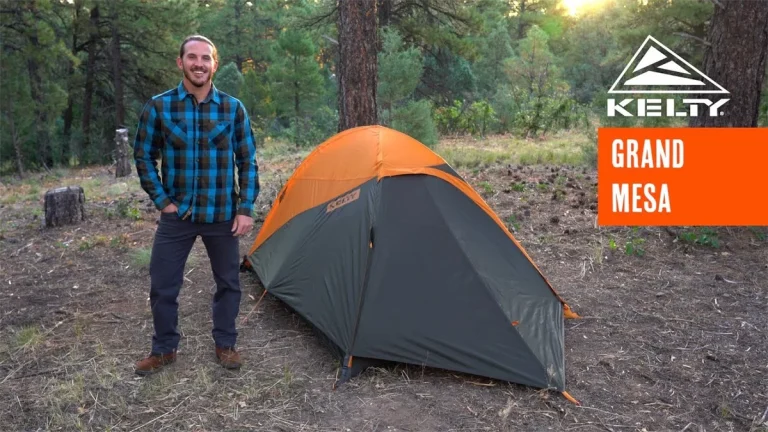
If there is no heavy snow or high wind in the forecast, you can adapt a standard summer model. To do this successfully, you must know how to set up a tent for camping to maximize wind protection and ventilation.
However, standard tents feature large mesh panels designed to encourage airflow. In the winter, these mesh sections let in cold drafts and allow drifting snow to blow right under the rainfly and into your sleeping space.
How Genuine 4-Season Tents Defy Heavy Snow and Wind
True 4-season tents, often called mountaineering tents, are built to withstand extreme environmental stress. They utilize robust, heavy-duty poles that cross over each other multiple times to create a rigid, geodesic dome shape. This design prevents the tent from buckling under heavy snow loads or howling alpine winds.
The tent body fabric features minimal mesh, replacing it with solid nylon panels that can be zipped shut to trap heat and block blowing spindrift. The fly sheet typically extends all the way to the ground to completely seal out the elements.
| Feature | 3-Season Tent | 4-Season Tent |
|---|---|---|
| Primary Use | Spring, Summer, Fall | Winter, High-Altitude Mountaineering |
| Pole Strength | Thin, flexible aluminum or fiberglass | Heavy-duty, rigid DAC aluminum alloy |
| Fabric Type | Breathable mesh and thin nylon | Rugged, high-denier windproof ripstop |
| Snow Load Capacity | Minimal (prone to collapsing) | High (sheds heavy snow easily) |
| Weight | Lightweight (2 to 5 lbs) | Heavy (5 to 12+ lbs) |
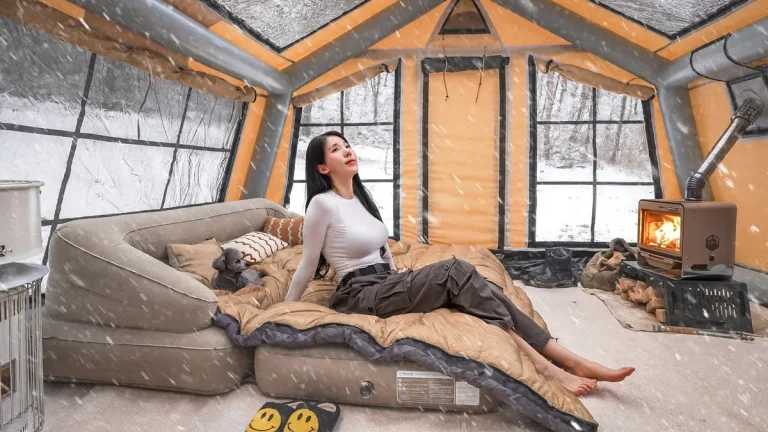
The “Hot Tent” Alternative: Wood Stoves and Canvas
For those who prioritize comfort over portability, “hot tenting” is a highly popular option. This setup uses a large canvas tent paired with a portable, folding wood-burning stove. The stove pipe exits through a fireproof opening in the tent wall, known as a stove jack.
This system allows you to dry out damp clothing and keep the tent interior at a comfortable room temperature, even in sub-zero wilderness environments.
Step-by-Step: Preparing Your Cold-Weather Campsite
Setting up a campsite on snow requires a completely different workflow than setting up on dry summer ground. If you rush this process, you risk structural damage to your shelter or a highly uncomfortable night. We recommend following these four steps to secure your site.
Step 1: Selecting a Safe Hazard-Free Location
Before unpacking your sled or backpack, evaluate your surrounding area for cold-weather hazards. Avoid camping directly under large, snow-laden tree branches. Heavy snow can fall from high branches without warning, causing injury or destroying your tent.
Ensure you are safely outside of any potential avalanche runout zones. Finally, try to find a natural windbreak, such as a thick stand of young trees, to shelter your camp from the prevailing winds.
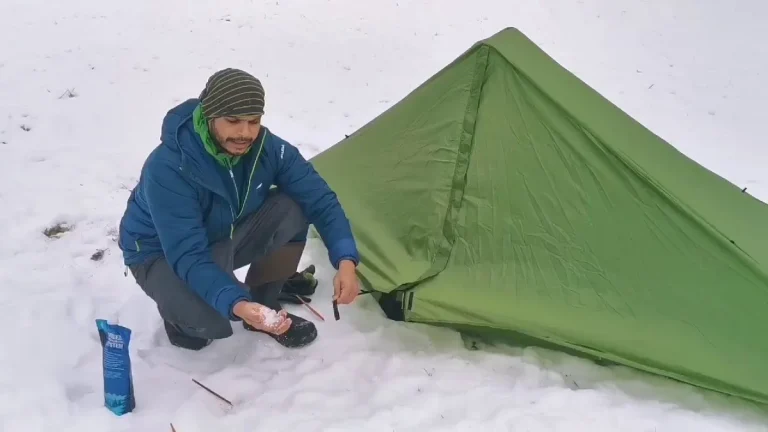
Step 2: Snow Stomping (Site Consolidation)
Never set up your tent directly on loose, powdery snow. Your body heat will melt the uneven snow underneath your sleeping pad overnight, leaving you sleeping in a deep, uncomfortable, icy trench.
Put on your snowshoes or winter boots and pack down a flat footprint that is slightly larger than your tent’s footprint. Walk back and forth over the area until the snow is firm and level. Once packed, let the snow sit for 15 to 30 minutes to freeze solid.
This setting process, known as “sintering,” creates a firm, concrete-like foundation.
Step 3: Setting Snow Anchors (Deadman Stakes)
Standard wire tent stakes are completely useless in soft snow. Instead, you must use wide, curved aluminum snow stakes or construct “deadman” anchors.
To make a deadman anchor, tie your tent’s guyline around a sturdy branch, a rock, or a snow stake. Bury the object horizontally under 8 to 12 inches of packed snow, then stomp the snow down on top of it. Once the snow freezes around the buried anchor, it will hold your tent securely in high-stress winds.
Step 4: Constructing Wind Walls
If you are camping in an open area with high winds, use your snow shovel to build a protective wall of snow blocks on the windward side of your tent. This wall will block the brunt of the wind, keeping your tent quiet and protecting the fabric from excessive strain. Be sure to build the wall several feet away from your tent so that any drifting snow deposited by the wall does not bury your shelter.
The Battle of the Breath: Preventing Inside-Tent Condensation
Moisture control is your greatest challenge when camping in cold climates. Many beginners assume they should seal every zipper and vent to keep the cold air out. However, doing so creates a significant safety hazard and a cold, wet night.
Why Sealing Your Tent to Keep Heat in Is a Mistake
Every time you breathe, you release warm, moist air into your shelter. When this humid breath hits the cold walls of your tent, it instantly undergoes condensation, transforming into liquid water or frost. If your tent is completely sealed, this moisture will build up rapidly.
As you sleep, your movements will shake this frost off the walls, raining moisture down onto your sleeping bag and dampening your insulation. Managing this moisture is a fundamental pillar of how to stay warm while tent camping in any winter condition.
How to Use Active Venting to Stop Frost Rain
To prevent this issue, keep your tent’s high vents open, even in freezing weather. You want to encourage a chimney effect, where cool, dry air enters from low openings and warm, moist air exits through the top vents. This continuous exchange allows moisture to escape before it can freeze on the inner lining of your shelter.
Trust your heavy-duty sleeping system to maintain warmth, and let your tent shed the humidity.
Fuel, Stoves, and Water: Staying Hydrated and Fed Below Freezing
Operating a kitchen in freezing temperatures requires specialized equipment and techniques. Food and water are your fuel, and keeping your body fueled is essential for thermal regulation.
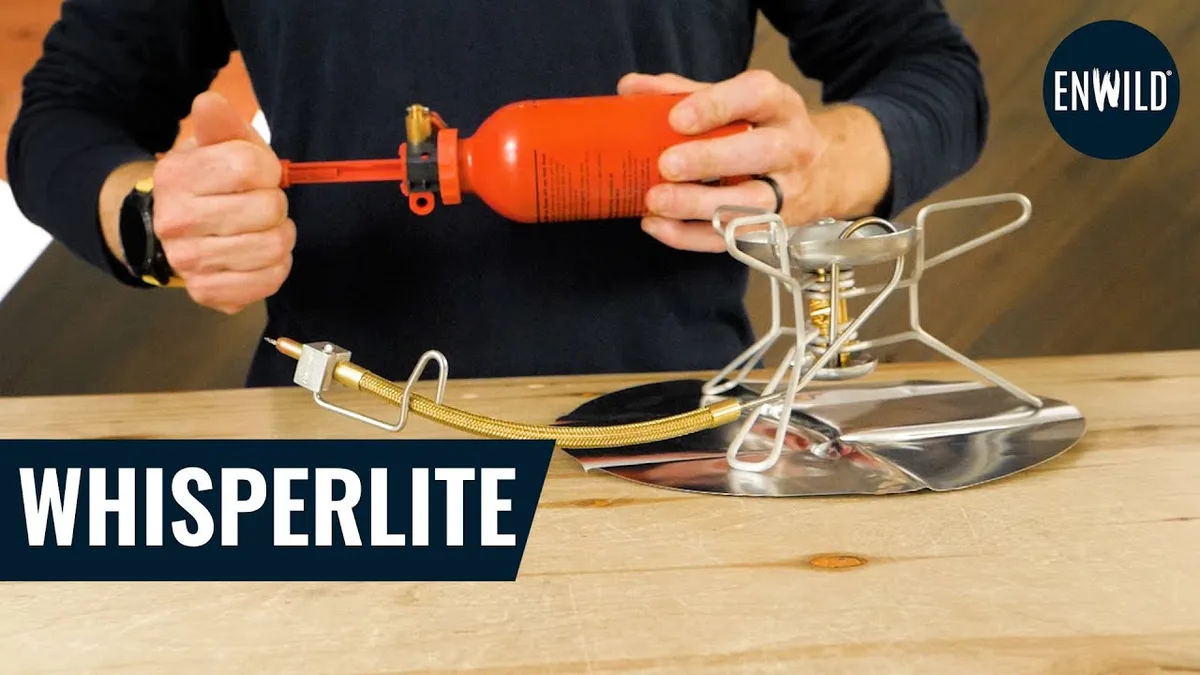
Image source: YouTube / Enwild (YouTube thumbnail (fair-use with source credit))
Liquid Fuel (White Gas) vs. Canister Stoves in the Cold
Standard canister stoves, which burn a blend of isobutane and propane, lose pressure rapidly in sub-freezing temperatures. As the canister chills, the liquid fuel inside can no longer vaporize, resulting in a weak, sputtering flame or a stove that refuses to light at all.
For reliable operation in deep winter, outdoor professionals use liquid fuel stoves that run on white gas. These stoves feature a manual pump that allows you to pressurize the fuel bottle yourself, ensuring a hot, consistent flame regardless of how cold the air is. If you must use a canister stove, keep the fuel canister warm before use by storing it inside your jacket or sleeping bag.
The Art of Melting Snow Safely
With natural water sources frozen solid, melting snow is often your only way to stay hydrated. Gathering clean, white snow is the first step, but melting it requires a specific technique to avoid damaging your pot.
- Start with “Seed” Water: Always keep a small amount of liquid water in your pot before adding snow. Preparing a pot of dry snow will actually scorch the bottom of your cookware, giving your water a burnt, chemical taste.
- Add Snow Progressively: Once your seed water is hot, add snow in small chunks. Packed, icy snow is more water-dense than light, fluffy powder.
- Bring to a Boil: To ensure safety, bring the melted snow to a rolling boil for at least one full minute to kill any dormant pathogens.
- Filter if Necessary: Use a clean bandana or pre-filter to strain out any dirt, pine needles, or debris that was trapped in the snow.
Keeping Your Water Bottles from Freezing Solid Overnight
Once you have gone through the effort of melting snow, you must protect your water supply from freezing overnight. Keep your water bottles inside your sleeping bag near your feet.
For external storage during the day, store your bottles upside down inside insulated foam jackets. Because water freezes from the top down, keeping your bottles upside down ensures that any ice forms at the bottom of the bottle first, allowing you to still open the lid and drink.
Safety and Risk Factors: Hypothermia, Frostbite, and Carbon Monoxide
Winter camping carries serious safety risks if you are unprepared. Exposure to sub-freezing temperatures can quickly lead to medical emergencies. Understanding how to recognize and prevent these cold-weather threats is your most critical survival skill.
Early Indicators of Hypothermia and Field Treatment
Hypothermia begins when your core body temperature drops below 95°F (35°C). The earliest sign is typically shivering, which is your body’s involuntary effort to generate heat. As hypothermia progresses, look for the “umbles” (fumbles, stumbles, and mumbles) indicating lost motor coordination and slurred speech.
If someone exhibits these signs, stop hiking immediately and get them dry. Change them out of cold clothing, wrap them in a pre-warmed sleeping system, and feed them warm, sugary liquids.
Preventing Carbon Monoxide Poisoning in Snowy Tents
Carbon monoxide is a colorless, odorless gas that can kill you silently inside an unventilated tent. Never burn fuel-based heaters, lanterns, or camp stoves inside a closed tent.
Even if you are just melting snow, do it outside the vestibule or keep multiple doors and vents wide open to allow fresh air flow. If you use a hot tent, keep a small battery-operated carbon monoxide detector hung near your sleeping space.
Avalanche Awareness and Safe Winter Terrain Assessment
Before heading out, consult local avalanche centers, such as those registered with the American Institute for Avalanche Research and Education. Never camp on, below, or directly next to slopes steeper than 30 degrees.
Look for signs of snowpack instability, like cracking snow underfoot or hollow “whumpffing” sounds. A safe winter campsite is nestled in dense timber or flat valleys away from active slide paths.
Common Mistakes to Avoid When Winter Tent Camping
Rookie errors during winter trips can ruin your gear or trigger an early exit. Fortunately, the most common cold-weather blunders are completely preventable.
Setting Up on Unpacked Snow
Pitching your tent directly onto loose powder will ruin your sleep. Your body heat will melt the uneven snow blocks beneath your pad, leaving you in a frozen, lopsided hole by midnight. Always stomp the snow flat using snowshoes and let it harden before setting up your shelter.
Wearing Daytime Sweat-Dampened Layers to Bed
Even if your hiking base layers feel dry to the touch, they contain sweat from daytime activity. Wearing these damp clothes to bed will draw heat away from you. Always put on a fresh, bone-dry set of wool or synthetic layers right before sliding into your sleeping bag.
Keeping Your Mouth and Nose Inside Your Sleeping Bag
It is tempting to pull your head deep inside your sleeping bag for comfort. However, your breath contains immense moisture. Tuck your nose outside the bag collar, or use a fleece balaclava to keep your face warm without dampening the fill.
Forgetting to Warm Up Your Boots Before Putting Them On
Leaving your boots out in the cold ensures they will freeze solid overnight. Getting your feet into stiff, icy boots in the morning is incredibly painful and can lead to frostbite. Store your boot liners inside your sleeping bag, or place the entire boot inside a waterproof stuff sack near your feet overnight.
Insider Tips for Cold-Weather Comfort
A comfortable winter night relies on small, clever hacks that maximize system efficiency. These simple tips are used by backcountry guides to make freezing conditions feel positive.
- The Nalgene Hot Water Bottle Trick: Before crawling into your tent, fill a hard-sided plastic water bottle with boiling water. Double-check the seal, then slide it into your sleeping bag to heat your footbox all night.
- High-Fat Bedtime Snacks: Eat a high-calorie snack right before bed. Foods heavy in fat and protein, like nuts, cheese, or peanut butter, keep your metabolism actively digesting and generate internal heat.
- Managing Your Batteries: Sub-zero temperatures drain lithium-ion batteries rapidly. Keep your phone, headlamp, and power bank inside your sleeping bag so they do not freeze.
Frequently Asked Questions
Can you use a regular tent for winter camping?
Yes, you can use a high-quality 3-season tent if you do not expect heavy wind or snowfall. However, you will need to keep the vents fully open to prevent frost buildup on the inner walls.
How do people stay warm in a tent in the winter?
They stay warm by using an insulated sleep system with a high R-value pad, a properly rated down sleeping bag, and active moisture management.
Does a tent keep you warm in winter?
A tent does not actively generate heat. It keeps you warm by blocking wind, shedding snow, and trapping a small pocket of air above your sleeping pad.
What is the best sleeping pad R-value for winter camping?
You need an R-value of 4.5 or higher to fully insulate your body from frozen ground. Check out our guide to the best lightweight sleeping pad for backpacking to compare winter options.
Cold-Weather Gear Maintenance and Storage
Caring for your winter gear ensures it keeps you safe on future trips. Never pack a damp sleeping bag or tent away in a tight compression sack inside your gear closet.
Always hang your down bags in a dry, well-ventilated space to maintain their loft. Clean dirt and pine needles off your zipper systems to prevent failures in freezing wind.
Final Steps for a Successful First Winter Camping Trip
If you are ready for your first cold-weather night, start with a low-stakes overnight test. Set up your shelter in your backyard or at a park close to your vehicle.
Testing your sleeping system, stove operation, and layering routine nearby gives you a safe escape route. Once your system is dialed in, you can confidently take on remote, snowy backcountry locations.